
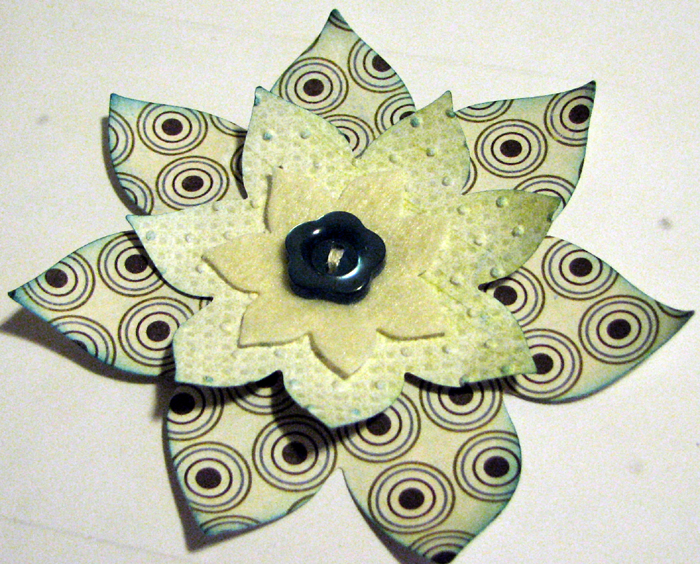
I'm still on my homemade flower kick and here's another one. It's easy to make really. If you are doing it all in patterned paper you can simply cut three different sized flowers using your Cricut but if you want to use felt like I did in this one, you will need to use your Cuttlebug. Please see below for a tutorial on how I pulled it all together. I hope you like it.
Before I start, first off I want to apologize or the quality of the photos but it was dark when I shot the photos.
Step 1: Using my Cuttlebug, Nestabilities flower dies and a double sided patterned paper, I cut out the flower shapes.

Step 2: Using the smaller die, I cut the shape out of felt. An important tip that will help you to get a clean cut of the felt is to put a piece of scrap paper under the felt before cutting.

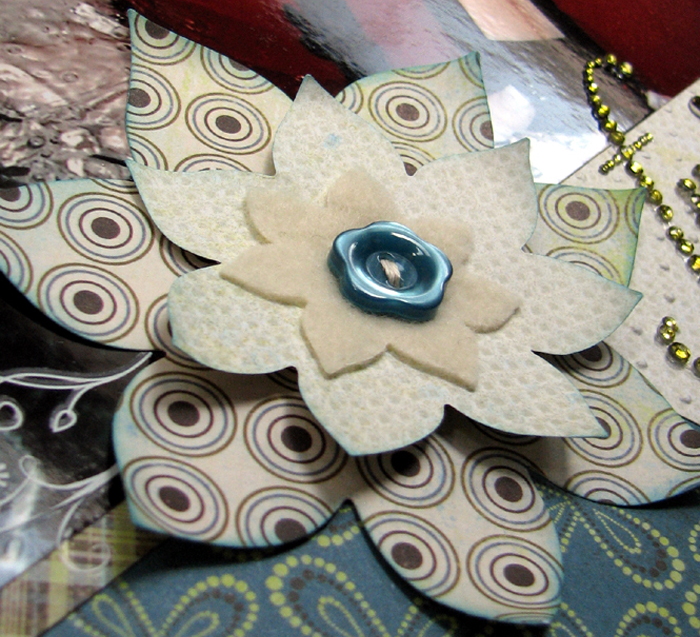
Step 3: I put a couple of pop dots on the middle sized flowers. Now make sure they are spaced as close to the outside as possible. You will see why in a couple of steps.

Step 4: Adhere the middle sized flower to the bigger flower. You will also notice that before adhering, I ran the middle sized flower through my Cuttlebug in an embossing folder.

Step 5: Now I place the button in the center of the flower and using my paper piercer I poke holes through both flower layers that match the button holes.

Step 6: Thread a needle and start from the back. Make sure to secure your end really well to the back of the flower. This is important!

Step 7: Thread on the felt flower and button and then stitch until secure. You want your stitches to be as tight as possible without ripping the paper. This is why you placed the pop dots far apart and it will dimple the center of the flower.

Step 8: For added color and depth I inked the edges of the petals and using my thumb I curved the petals slightly.

And there you have it, your own version of the flower I made for this layout! Have fun!
1 comment:
Too fun! Love how you did it!
Post a Comment