
For this layout I used Cosmo Cricket's Joy Ride Collection and some scraps from my collection. I really like how the arrows bounce your eyes around the layout kind like watching my niece at the park that day!


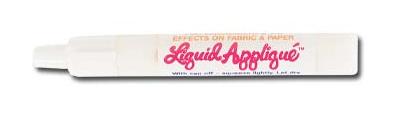 Why am I addicted you ask? It's simple really. It is so much fun to play with and you can make some really cool effects with it. First you trace or fill in a shape in with the Liquid Applique, then you heat it from underneath with a heat gun until it puffs up. It only comes in white but I have already used it for clouds, marshmellows, and snowflakes. In fact I am already on my second tube :) Here's some layouts where I used it and if you get a chance to play with it I highly recommend it!


 The Paper used on this layout is from Bella Blvds Super Stud Collection.
 And here is a shot of the inside of the card.
  I made it like a pop-up card where the balloons kind of stand up when you open the card. I bet you are asking yourself, how'd she do that?! It was simple really. First you create the card by folding a piece of cardstock (9.5" x 5.5") in half. Then take each side of the fold and fold it back about a half inch above the first fold. Now if you look at your card from the side it should look like a W. Now take some adhesive and glue the bottom of your W together. Now you have the base of your card which should look like a normally card except that it has a little flap on the inside fold. The next step is to take a piece of acetate and cut it into strips of varying length that will fit inside the card. On the end of each strip you will glue a die cut balloon and then using a marker or in my version I used stickles, draw a string down the acetate strip. Once you have all your balloons attached to strips you can now glue the bottom of each strip behind the inside fold of your card. Tada! you now have the flipping balloons! Now decorate the card as you wish and put a strip of paper or ribbon on the front of your inside fold to make it pretty and you are done.