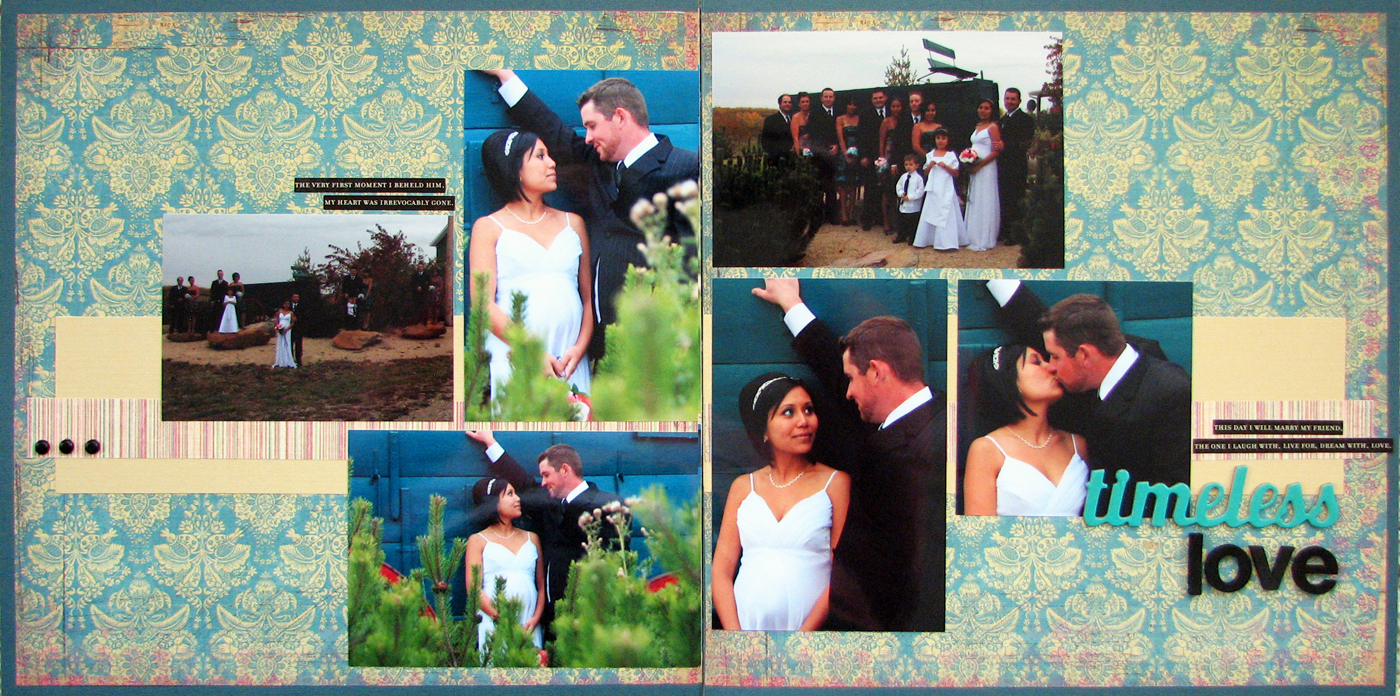
Hello out there! I know it has been awhile since you have heard a peep out of me. Life seemed to get a little hectic for me the last couple of months and like most other people, I had to let some things go temporarily so that I could focus on other things. Unfortunately, that meant my blog went quiet and so did my scrapbooking! And even though life is still pretty busy right now, I thought I might be able to manage coming back to the blog world! So without further ado, I have a layout to share with you today!
After taking a break from scrapbooking, I always find sketches a great way to get back into it! So as I eased myself back behind my craft table, grabbed my Sketches for Scrapbooking books (a real awesome resource you can find here) and started flipping through the sketches to find one I could use. I stuck very close to the sketch only altering small details. You have to start out slow right!?!
Thanks for stopping by!
Showing posts with label Sketch. Show all posts
Feb 1, 2013
Nov 30, 2012
Home for the Holidays
The hubs and I always do our own little Christmas on Christmas day before heading to see family for the day. I always enjoy this quiet time just the two of us, sharing the gifts we bought for each other and of course spoil the dog too!
This was a quick and easy sketch to work with. I love that it allowed me to fit so many pictures on the layout as well as use several different styles of patterned paper! Instead of following the sketch exactly which called for three vertical pictures side by side, I replaced the far left one with a journalling spot from the collection that was the same size as a 4x6 photo. Looks great if you ask me! Plus it saved me from having to do a title ... bonus!
Oct 19, 2012
Good Day 2 Be Rescued
Under water patterned paper is always so colourful and playful. It's probably why I gravitate to them so much in the scrapbook store! And being able to mix several of the patterns together on one layout makes me super happy and cheerful!
Because the background paper was so busy my title had a hard time standing out. By simply running a few strips of washi tape in behind the title, the title was finally able to pop off the background paper. I also added a little bit of Glossy Accents to the blue vinyl letters to give them a little more dimension.
Apr 20, 2012
Family
I had a few problems with my photos on this layout. My camera was misbehaving that night and all of my photos had one problem or another: grainy, blurry, dark, you name it. So in an effort to make them a little more consistent I made them a sepia tone which hid some of my photo problems. How do you deal with problem photos? Do you try to fix/hid them or do you scrap them as is?
Apr 18, 2012
Sam and Chris' Wedding
So keeping in line with yesterdays post, I thought I would show you why I have been a little MIA lately on this blog. I have been working on wedding gift albums for two different couples. It's a little time consuming but so worth it! And because I decided to pre-plan my layouts like I did in Part 1 of Behind the Scenes, it didn't take me as long as I thought it would. This album for my cousin Chris and his beautiful wife Sam was done in about 2 weekends. Yes, I admit that this gift album is pretty basic when compared to some of my elaborate past works. I didn't do much fussy cutting, or stitching, or obsessing over the perfect embellishment or new technique. I reserve that stuff for my own albums because I don't have the time constraints as I have had with this project. Everything in this album (except for the actual album) came from one scrap pad that I already had in my stash, which was an awesome way to use up existing supplies as well as keep the theme consistent. In order, to keep this short and not to give too much of the album away, as the happy couple haven't seen it yet, I have only posted a couple of the pages I completed.
Now, be sure to come back tomorrow to see the some of the album I created for my neighbour's 5th anniversary!
Apr 5, 2012
Our Spot
A quick layout I did about our favorite place to hang out on the resort. It's funny really that we would get up earlier than we do at home just to secure the best seats on the resort! So worth it though, the beach only had a few grass huts and they were snatched up fast and without a grass hut I would of been burnt like a crispy critter!
Mar 30, 2012
Gator Tour
I love the papers I chose for this layout! The blue wood grain looks like swirling water and the green polka dots could pass as crocodile skin. It's almost like I planned it that way. To be honest I didn't really. I picked the blue wood grain because it looked like water but the green polka dot was pure coincidence. I love it when that happens!
To add some fun to my layout I went a little bananas with buttons! Aren't they fun looking? Oh and that Yo-Yo flower was what I built this whole layout around! It was just so cute, I couldn't resist it!
So, as a treat, and it something I haven't done in a long time, I created a small tutorial on how to create a Yo-Yo flower. They are so easy to do and before you know it you will be making them to go on everything. Think layouts, cards, hairbands and pins, broaches, on picture frames ... the possibilities are endless!
So without further ado, here's what you will need. A piece of fabric (mine was 5.5" square), some embroidery thread (I found the thickness stood up better than regular thread), a needle, scissors, and buttons. Take your fabric and fold it in half and then in half again. Now fold it in half one last time. It will look like a triangle. Now holding the folded tip you want to round off the other end (in my pictures below you can see I am cutting off all the zig zag ends). This should give you something that closely resembles a circle. If it's not perfect, don't worry. Thread your needle and tie a knot in the end with about two inches of excess after the knot. You will need this length at the end. Now stitch all the way around your circle. try to keep all you stitches as even as possible and about a quarter inch in size and about an eighth of an inch from the edge. Do not knot the end when you are done. Now grab the two inch end from beginning and your end of the thread that still has the needle on it and hold them together between your thumb and forefinger. Pull both pieces of thread bunching up the material as you go. Once you get it as tight as you can you should have something that resembles the Yo-Yo flower. Tie your two ends in a secure knot. Take the two inch end from the beginning and thread it up through the bottom of your button and take the needled end and thread it up the other hole of the button. Using the needle end loop through the button and flower and couple of times securing the button the the flower. When you are comfortable with it's stability (I did about three to four stitches), take your needle off of the thread and tie it in a bow with the two inch end from the beginning. I have included some photos that should help all you visual learners out there!
I apologize but the one below does not have a bow on the top I just tied it underneath the flower but you a bow on the ones pictured before the instructions. And there you have it! Sure hope you enjoyed this little tutorial!
To add some fun to my layout I went a little bananas with buttons! Aren't they fun looking? Oh and that Yo-Yo flower was what I built this whole layout around! It was just so cute, I couldn't resist it!
So, as a treat, and it something I haven't done in a long time, I created a small tutorial on how to create a Yo-Yo flower. They are so easy to do and before you know it you will be making them to go on everything. Think layouts, cards, hairbands and pins, broaches, on picture frames ... the possibilities are endless!
So without further ado, here's what you will need. A piece of fabric (mine was 5.5" square), some embroidery thread (I found the thickness stood up better than regular thread), a needle, scissors, and buttons. Take your fabric and fold it in half and then in half again. Now fold it in half one last time. It will look like a triangle. Now holding the folded tip you want to round off the other end (in my pictures below you can see I am cutting off all the zig zag ends). This should give you something that closely resembles a circle. If it's not perfect, don't worry. Thread your needle and tie a knot in the end with about two inches of excess after the knot. You will need this length at the end. Now stitch all the way around your circle. try to keep all you stitches as even as possible and about a quarter inch in size and about an eighth of an inch from the edge. Do not knot the end when you are done. Now grab the two inch end from beginning and your end of the thread that still has the needle on it and hold them together between your thumb and forefinger. Pull both pieces of thread bunching up the material as you go. Once you get it as tight as you can you should have something that resembles the Yo-Yo flower. Tie your two ends in a secure knot. Take the two inch end from the beginning and thread it up through the bottom of your button and take the needled end and thread it up the other hole of the button. Using the needle end loop through the button and flower and couple of times securing the button the the flower. When you are comfortable with it's stability (I did about three to four stitches), take your needle off of the thread and tie it in a bow with the two inch end from the beginning. I have included some photos that should help all you visual learners out there!
I apologize but the one below does not have a bow on the top I just tied it underneath the flower but you a bow on the ones pictured before the instructions. And there you have it! Sure hope you enjoyed this little tutorial!
Mar 28, 2012
Beach Explorers
I saw these Post-It notes at Chapters and just had to have them! They make a perfect journalling spot don't they! And because they are a Post-It note, they come sticky back so no adhesive required! They has different kinds so I might have to go back and pick up some more.
Mar 27, 2012
Black River Tour
If you remember a couple of posts back, I mentioned my large stash of brads. They were my guilty purchase a couple of years back and now I have a jar full of them. While trying to fulfill my use the stash resolution, I have tried to find creative ways to use the brads and on this layout.
I think I did pretty good with thinking outside the box on this one. Instead of placing a couple on a line on my layout, I decided that a circle around my title would be a perfect way to use up a few of them!
Mar 23, 2012
Take Flight
Whoot! Whoot! Another layout created with scraps from my scrap pile and I will admit I am loving this one! I think one of the reason I love it so much is because I used the blue cardstock. Typically I use white, it's my go to choice, but this time I decided to switch it up a bit and I find that this color really seems to make everything pop!
I really like this grouping around my journaling spot. There are so many fun little bits and pieces that I pulled out of my leftover embellishment pile. Sometimes I forget what I throw in this pile and then when I rummage through it I find so many fun pieces. It almost looks like it all came together from the manufacturer, doesn't it!
Mar 20, 2012
Sunset Beach
Have you ever planned a layout and was so excited about the idea of it but then when you are work on it, it just doesn't seem to be working as you envisioned? That was the case here! It doesn't seem to have hit the mark of what I had in my head. I can't put my finger on what it is that is off but something is.
One thing I know for sure is that my title is too close to the background paper, making it hard to see. Normally I like my title to pop but this paper pack came with matching alphas which I decided to use. You would think the manufacturer would make sure their alphas work better with their papers ... maybe it's just they didn't envision them being used on this polka dot background paper! Unfortunately, once they were stuck down, I couldn't lift them off without distroying the background paper so I left them.
Mar 19, 2012
Resort Life Is So Great
So I might have gone a little overboard with the flowers on this layout. I am sure you know how that happens. It starts with one and then it goes to two and before you know it you are trying to figure out how to get nine flowers on your layout! It's funny! I decided to layer a bunch of different flowers and buttons on top of one another to give them some dimension and depth. I love how they turned out, even though it is a little over the top!
Mar 16, 2012
Best Restaurant on the Resort
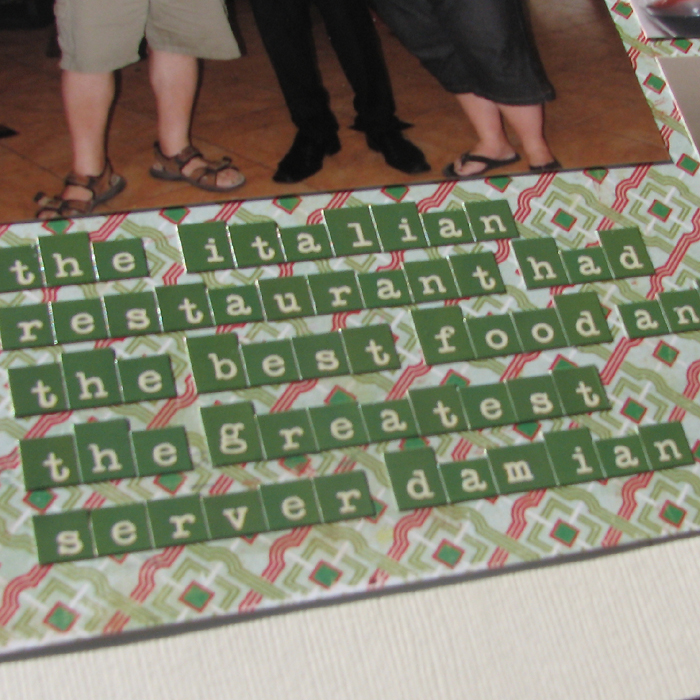
This was a very quick layout! Most of the photos I didn't have to crop and used them in 4x6 format. I love layouts like this because it's quick to get the layout together and then I can spend time playing with my personal touches! I love the title area on the left where I used the Dollie as my title block. It works perfectly with the theme of this layout and my red background paper!
I decided to do my journalling with Cosmo Cricket Tiny Types. At first I was excited about it but about half way I started to panic about running out of letters. I kept going and I was lucky to have enough and I really liked how it turned out!
Mar 13, 2012
ATV Ride
When we went to Cuba a couple of years ago we did a Jeep Tour and I think it was our favourite excursion because it gave us the opportunity to explore the country side and see what life was like in Cuba. So when we saw our resort offered something similar except on ATVs we thought it would be fun. We left it a little disappointed. Don't get me wrong it was fun booting up a mountain side and to see the views but we missed not being able to go through a small village. There's so much you can learn about a place just by visiting a small village so that was a little disappointing that we didn't do it. Also, in Cuba it was an all day trip through a couple of towns and villages where as this one was only 45 minutes. But like I said we still had fun playing on these little ATVs and take the path less beaten to the top of a coffee producing mountain. The funny thing is the one in Jamaica cost twice as much as the one in Cuba!
I wanted to add more dimension to the Speed Limit and You Are Here die cuts so I covered the inner circle on each with Glossy Accents which gave them an epoxy look. Also instead of checking the adventure category on the journalling spot I used a brad. I have so many brads in my collection that I decided I need to start finding creative uses for them.
Mar 12, 2012
Life In Jamaica
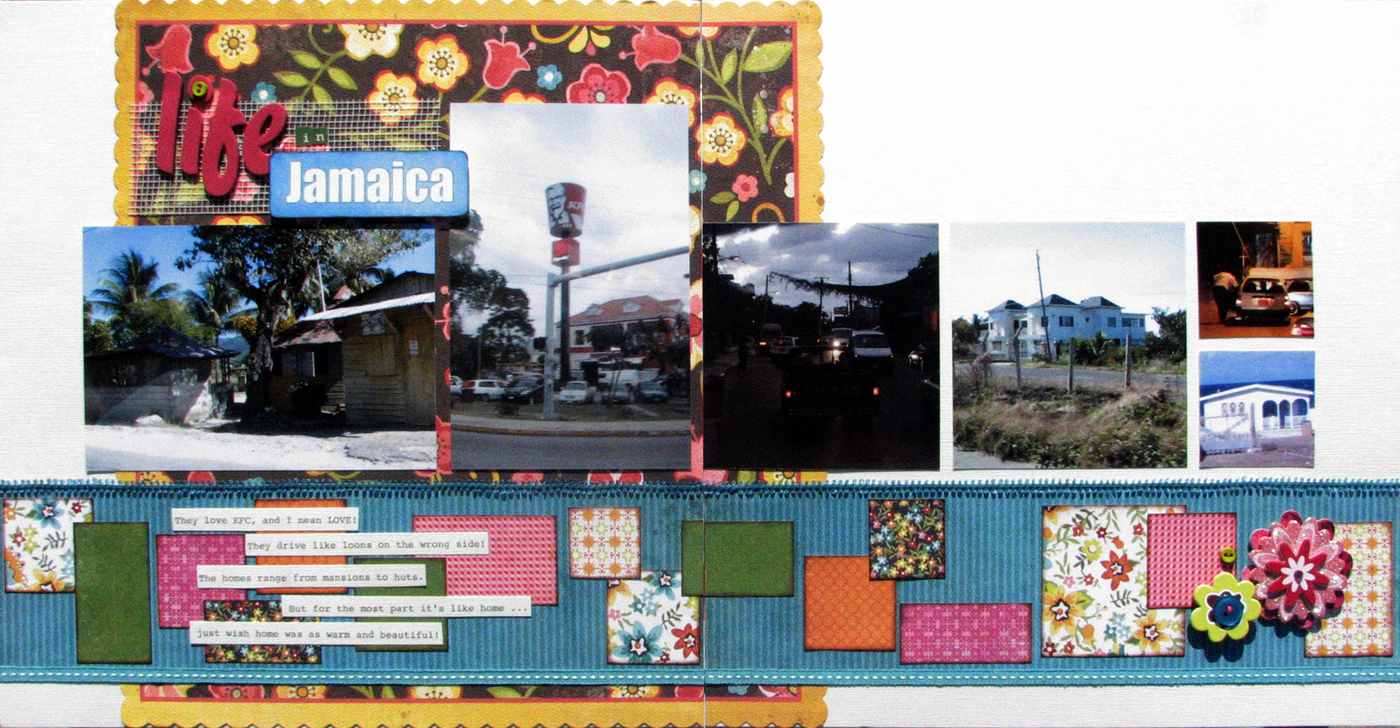
I love the colours in this layout! Bright and cheery just like my memories! The best thing about this layout is that other than the background die cut sheet and the white cardstock that the layout is based on everything else uses a 6x6 paper pad. Seems like such a better way than cutting up a whole 12x12 sheet to achieve the same affect.
The top ribbon was not the right colour so I pulled out my ink pads and went to town on creating the colour I wanted. Once I got it, I took my heat gun to it to set it. Fun thing then happened, the ribbon shrank right up. It was cool really and I liked how it worked so I went with it. I guess that is what the creative process is all about ... right?
Mar 2, 2012
Rum Tour
As part of the YS tour, you got to visit the Appleton Rum Estate. Now neither Steve nor I are huge rum drinkers but for someone who is they would probably think they had died and gone to heaven here. You were free to sample as much of different kinds of rums they make. Who knew there were so many different kinds! So because this layout was kind of about alcohol I thought the Social Club collection from Cosmo Cricket would be a perfect match. Good thing I hoarded it for all this time!
So the Social Club sticker sheet has these cute little journalling spots but I had such a hard time with them because they had a glossy finish (like most stickers have) which made my marker pool and smudge. for someone who is particular about things being consistent this drove me nuts. I used my usual Zig pen for the journalling but I am wondering if there is something better out there for this type of material? I thought about using my Copic marker but the tips are too big for fine writing. Have you run into this problem and if so how do you get around it?
Subscribe to:
Posts (Atom)